Head-up displays (HUDs) use mirror optics to project a virtual image onto the windscreen. Important information, such as speed or navigation instructions, is projected in the driver’s field of vision via parabolic mirrors. The main advantage of head-up displays is that, unlike conventional information sources, drivers do not have to take their eyes off the road to view them. Overall safety increases as drivers are less distracted. This innovative technology has been widely accepted by users, with demand for HUDs growing continuously.
Producing the mirrors requires optics that are entirely free of defects. A perfect injection-molded form and reflective coating are the only way to ensure undistorted images and, therefore, maximize driver safety. Even the tiniest errors and deviations in shape can lead to distortions and defective images. As a result, the HUD mirrors need to be rigorously inspected.
Phase-measuring deflectometry is a particularly reliable process for measuring reflective or partially reflective surfaces, as it is highly sensitive to changes in pitch.
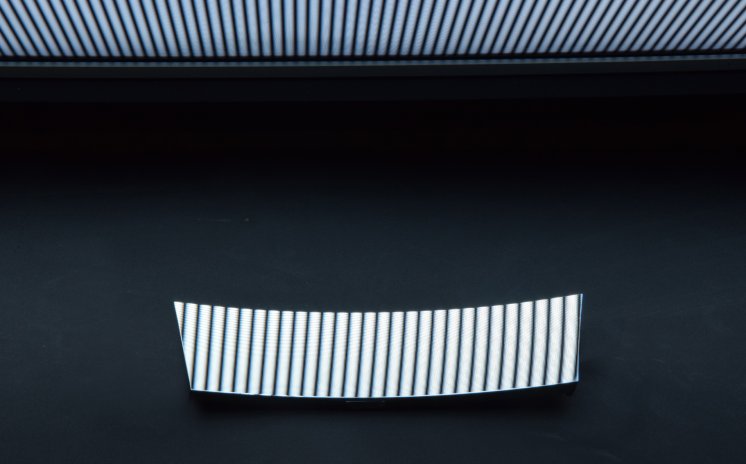
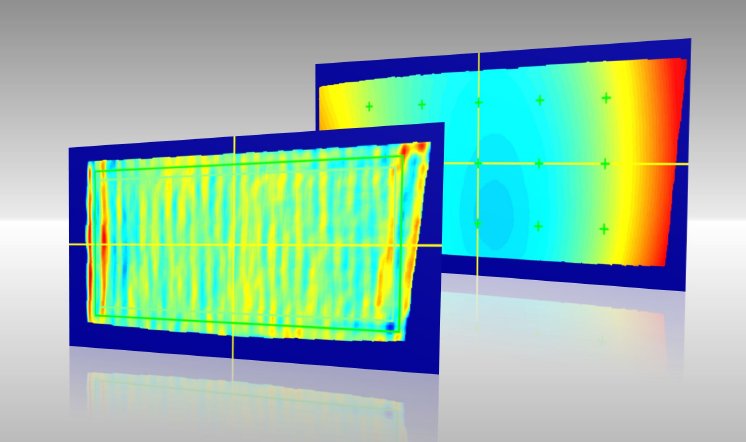
Based on this process, the SpecGAGE3D product family enables automated measurement and inspection of HUD mirrors. The system projects stripe patterns onto the reflective surfaces. Then the reflected pattern is captured by up to twelve cameras at different angles. The recorded image sequence and photogrammetric methods are all that is required to reconstruct the object geometry. Surface defects cause deviations in the stripe pattern providing information on the surface conditions and potential surface defects. The system uses CAD data to inspect the curvature of the HUD mirror. In this process, the measurement data is compared with the target values of the digital twin in a matter of seconds, creating a difference map that is precise to the micrometer. The tolerable deviation from the target geometry can be checked reliably and efficiently via point comparison, profile sections, or full-surface evaluation. The SpecGAGE3D ensures excellent precision in both height and curvature measurements down to the nanometer or millidiopter range. Errors are detected and – if known – classified straight away.
For manufacturers of head-up display mirrors, the SpecGAGE3D systems promise reliable, 100% inspection. This makes it possible to remove defective parts from the production process early on. Timely alerts of defects also let the operator adjust the process efficiently and control the production process accordingly. This reduces the number of reject parts produced, thus protecting resources and saving costs. In addition, expanding the measurement systems with production analytics software allows users to exploit the hidden potential of production data to optimize productivity.


