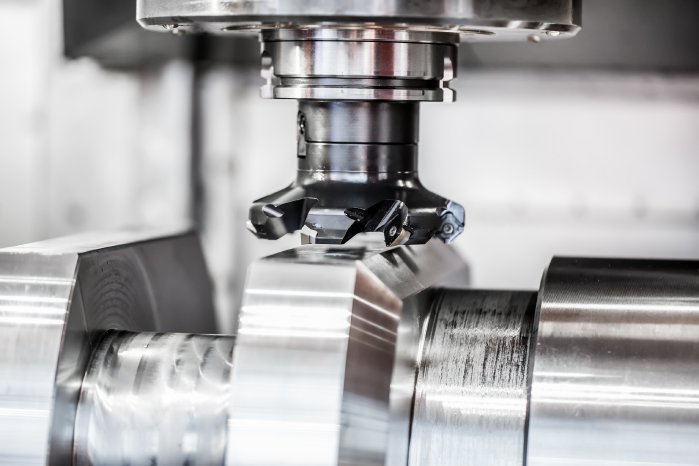
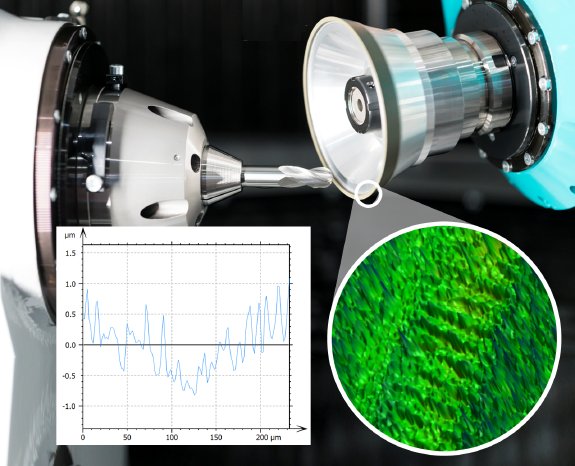
Drivetrain components in vehicles are subject to stringent requirements. One of these components is the crankcase of a combustion engine. It accommodates the cylinders and acts as the “skeleton” of the engine, to which many other parts are attached. When the pistons move, strong forces act on the component at high temperatures. To ensure that the crankcase can withstand these stresses, great precision is required during manufacturing. To this end, wear to the component and tool needs to be checked continuously.
Permissible tolerances are defined for this wear, and these need to be monitored. In machining, wear monitoring on the machined component or the tool itself requires fast, precise, and non-destructive inspection procedures. The only optical measuring methods suitable for this are the ones that enable short inspection times and cover the entire surface.
White-light interferometry as a flexible and robust measuring method
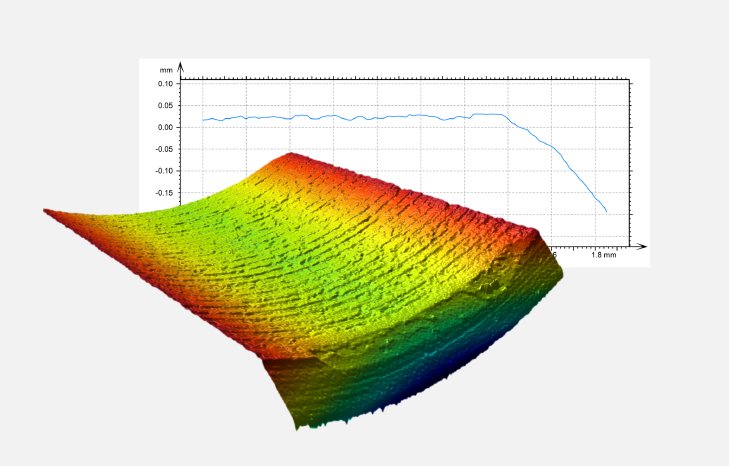
White-light interferometry has become established as an especially flexible and robust optical measuring method. It represents the object in three dimensions by superimposing light beams created when the measured object and a reference mirror are evenly illuminated by polychromatic light, which is split in two by a semi-transparent mirror. The reference mirror and measured object then reflect the beams back to the camera. Depending on the vertical structure and the surface of the object, different path lengths result for the reference light and the sample light. This superimposition pattern can be analyzed using a software solution that calculates a distance for each point of the object. It thereby produces an exact topographical image of the surface in the form of a surface height map. NetGAGEG3D white-light interferometers from ISRA VISION are particularly reliable and compact. They measure surfaces quickly, reliably, and precisely, whether as a standalone system or as part of a production line.
Besides monitoring for wear in the machining industry, white-light interferometry is also used to inspect rough or smooth components in the electronics and semiconductor industries, in glass manufacturing and medical technology.
Measuring surfaces quickly, precisely, and reliably
White-light interferometry is used to detect topological surface parameters such as evenness, roughness, or step heights with precision, reaching into the nanometer range with just a single measurement. The technology also accurately measures structures with minute dimensions.
Different cameras are used depending on the application: When detecting roughness, an especially high lateral resolution is required, while sensors with a very large measuring field of up to 110 x 110 mm² are used to inspect evenness. The system also identifies information on dimensional accuracy and completeness. Furthermore, it can inspect the entire surface topography within the measuring range and the geometric shape of an object.
During the measuring process, the compact measuring head can be moved in the z-direction before scanning the object. The produced “depth image” of the object has an extremely low level of measurement uncertainty. Through this process, even low-lying areas such as boreholes, channels, or etched structures are measured without any shadows, while large working distances can also be accommodated. The solution can realize extremely high measurement speeds depending on the surface.
The measuring task can be configured quickly thanks to the simple and intuitive user interface – a very important feature, as small series are also becoming increasingly common in machining. When setting up the system for the first time, the entire procedure is saved as an automated recipe and is thus available for future measurements. Moreover, the clear reporting function ensures that the user is in control of the progress of processing and wear at all times.
Reliably ensuring efficiency, quality, and profitability
Thanks to their universal design and variety of modifications, the sensors can cover a wide range of applications and can be used wherever stability and long-lasting accuracy are essential. Meanwhile, users in the field of machining benefit from a reliable adherence to tolerances thanks to optical inspection. The system also extends the service lives of tools in a controlled manner and prevents rejected workpieces. Simultaneously its feature for archiving precise system settings ensures ideal results in the long term and preserves resources. In doing so, the NetGAGEG3D product line guarantees efficiency, quality, and profitability and keeps its users competitive in the market.


