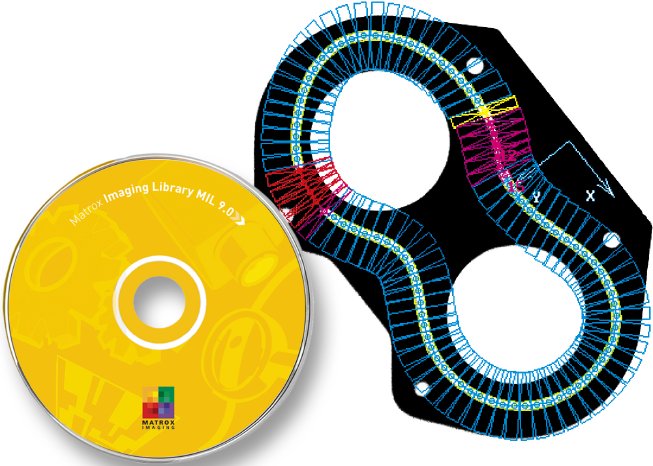
The Bead Inspection tool is for inspecting material that is applied as a continuous sinuous bead, such as adhesives and sealants, or its retaining channel. The tool identifies discrepancies in length, placement and width, as well as discontinuities. The Bead Inspection tool works by accepting a user-defined coarse path (as a list of points) on a reference bead and then automatically and optimally placing search boxes to form a template. The size and spacing of these search boxes can be modified to change the sampling resolution. The allowable bead width, offset, gap and overall acceptance measure can be adjusted to meet specific inspection criteria.
The MIL Metrology tool is intended for 2D geometric dimensioning and tolerancing applications. The tool quickly extracts edges within defined regions to best fit geometric features. It also supports the construction of geometric features derived from measured ones or defined mathematically. Geometric features include arcs, circles, points, and segments. The tool validates tolerances based on the dimensions, positions, and shapes of geometric features. The tool’s effectiveness is maintained when subject to uneven changes in scene illumination, which relaxes lighting requirements. The expected measured and constructed geometric features, along with the tolerances, are kept together in a template, which is easily repositioned using the results of other locating tools. This along with the use of the MIL Calibration tool enables templates to be independent of camera position.
MIL 9 Release 2 Processing Pack 2 is the latest processing pack for the Matrox Imaging Library, a software toolkit for image analysis, machine vision, medical imaging and video analytics.
Link to Matrox Imaging Library, new Datasheet:
http://www.rauscher.de/...
VISION 2010
Halle 4 - Stand 4c14
For more information please contact:
RAUSCHER
Johann-G.Gutenberg-Str. 20
D-82140 Olching
Phone +49 81 42 / 4 48 41-0
Fax +49 81 42 / 4 48 41-90
E-Mail: info@rauscher.de
www.rauscher.de


